Hi Folks,
I’m here today to share a luxury card. Now for switched up Sunday I usually switch up a specific project. Today however I am switching up my own personal style of crafting.
I have wanted to make an elegant, fancy layered card for quite a while and I finally managed to do so. I knew that I wanted lots of layers, a shaped card base and to use a simple colour palette.
So, here goes:

Firstly, I decided to go through my die collection and choose which ones that I would like to use and for which layer. I chose the largest Couture die to use to create my shaped card base. To achieve this, I die cut two shaped panels from thick cream card; On one piece I scored a line across, 3/4″ from the top. Above this score line I added strong liquid glue and adhered it to the remaining panel to create the hinged card base.

Next, I started the die cutting process. One of the dies that I had chosen was a decorative edge die. I die cut the panel back to back to create a circular panel and I totally loved it! It turned out even better than I imagined.
As I was die cutting I also embossed the layers whilst they were still in the die, to enhance the designs.
Once I had die cut and embossed all the layers that I wanted, I started to adhere them together. I alternated the patterned/coloured card layers with the cream card layers:

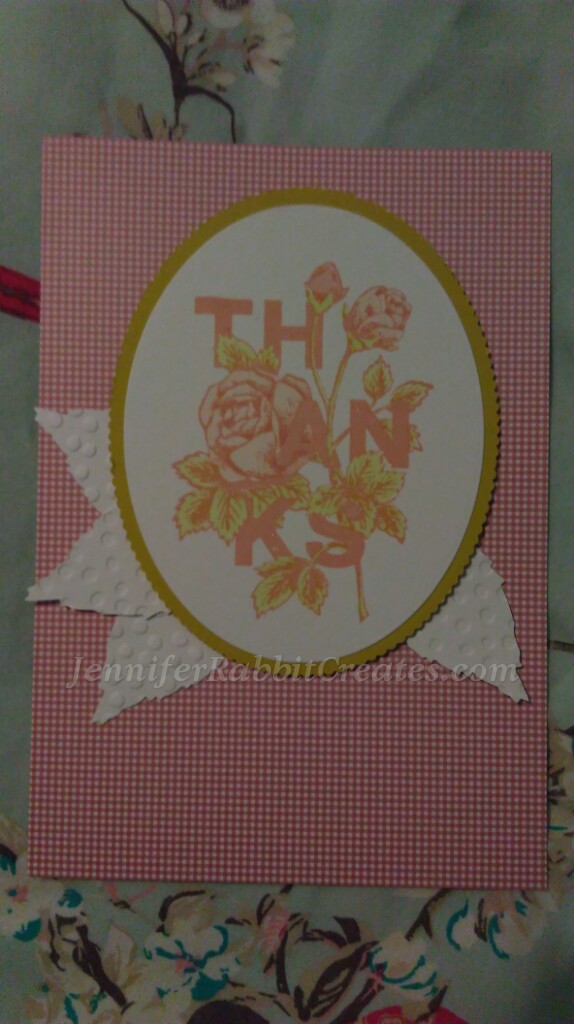
I also alternated between using flat adhesive and foam pads for dimension. Before I added the final die cut panel, I heat embossed a ‘Thank You’ sentiment using Gold embossing powder:

The final touch was to add a ribbon bow and my card was done:

Thank you for stopping by today folks and I hope that you have enjoyed my Switched Up style. Any questions? Ask away in the comments section 🙂
Take Care and Happy Crafting!